You have performed SAP Database export using R3load Procedure and migration monitor (as described in this article). Now you want to do import using R3load procedure and migration monitor in target server.
Prerequisite:
- You have prepared the target server for SAP Database instance installation (Oracle software installation).
Now you are ready to do SAP Database import. In this example i use SAP Solution Manager 7.0 Ehp1 on Oracle Database.
1. Call SAPinst -> Software Life-Cycle Options-> System Copy -> Oracle -> Target System Installation -> Central System -> Central System

2. Choose Typical if you want to let the installation put installation parameters, or choose Custom so you can change the individual parameter.

3. Locate your Java Component CD.

4. Enter your JDK directory.

5. Enter the SAP system ID. 
6. Enter your Master Password for installation.

7. Choose your Domain Model.
Local Installation: You don’t use domain.
Use domain of current user: Use current domain as the OS user authentication.

8. Confirm your OS User password.

9. In the installation method choose Standard System Copy / Migration (load-base).
Note: Don’t forget to select “Start Migration Monitor manually”, otherwise the import will not use Migration Monitor.

10. Enter the correct Database ID.

11. Locate the correct Migration Export Directory.
Note: the files are result from Database Export (please read the article SAP Database Export using R3load and Migration Monitor).

12. Enter Database System parameter
DB Home: Oracle Software installation home directory
DB Server Version: DB version
Instance RAM : memory for SAP System
ABAP Schema : Schema for ABAP Database
JAVA Schema : Schema for JAVA Database

13. Enter the correct directory for your data.
Select “Advanced DB configuration” so you can change some advanced parameters.

14. Enter password of Database Users.
 15. Enter your Listener Name and Port.

16. Select some Advanced Configuration you want to change.
17. Enter the correct location of sapdata files and database drive distribution.

18. Enter Key Phrase for Secure Store Settings.

19. In this step choose skip statistics creation to speed up the installation. You can do statistics creation later.
20. Enter the correct Central System and SCS Instance number.
21. Enter the correct Port.

22. Enter the Administrator User of your JAVA System.

23. Enter SDM password
24. Enter correct DDIC password

25. Enter correct Kernel and Oracle Client CD.

26. Select the archives you want to unpack.

27. Now review your parameter summary, and choose Next if there’s no parameter changes.
28. The installation will continue until a message box appears to ask you start import monitor.
 29. Edit some parameters in file import_monitor.cmd.properties located in installation folder.
Below are parameters should be specified.
# List of import directories, separator on Windows ; on UNIX :
 importDirs=E:\Source\SolmanExport\ABAP

# Installation directory
 installDir=C:\Program Files\sapinst_instdir\SOLMAN\LM\COPY\ORA\SYSTEM\CENTRAL\AS

# Package order: name | size | file with package names
 orderBy=size

# Generation of task files: yes | no
 tskFiles=yes

# Migration key
 migrationKey=1G5fdEM504qIrBzjt6TE5Pae

# Number of parallel import jobs
 jobNum=4

# DB code page for the target database
 dbCodepage=4103
30. Open a new command prompt as <sid>adm and go to installation directory.
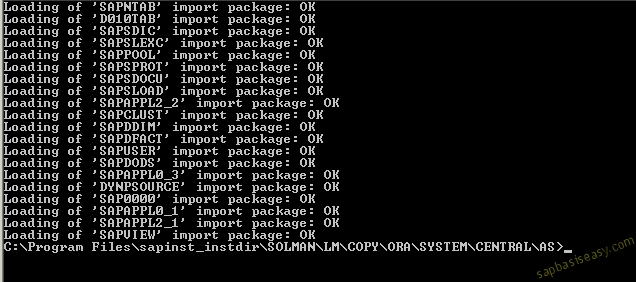
Run a command: import_monitor.bat (in UNIX environment is import_monitor.sh).
Migration monitor will start to import.

Monitor until all packages are imported successfully.
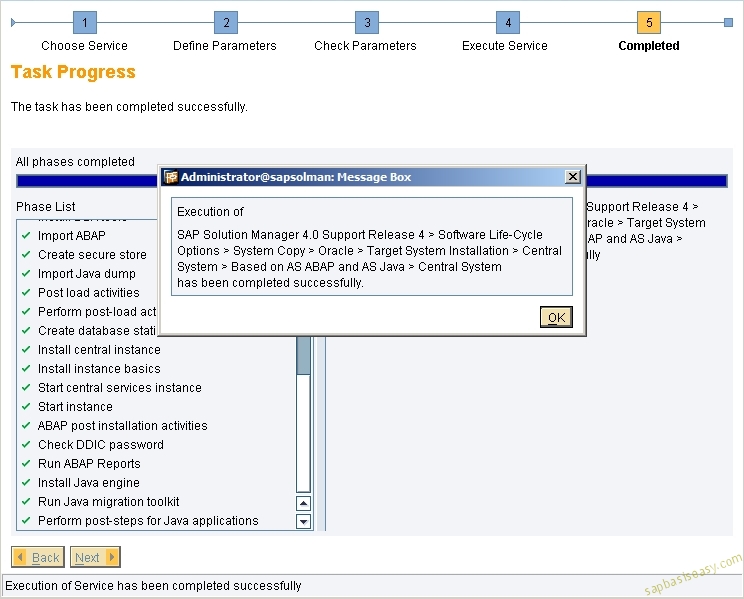
31. Now go back to installation that left opened in step 28 and choose OK to continue the rest installation process.

32. This time a message box appears asking you to start JAVA import process. Choose OK to continue.

33. Make sure the installation is finished successfully.